Amount exceeded

4.7 su 5 basato su 58502 recensioni


4.7 su 5 basato su 58502 recensioni


Commenti : È il prodotto essenziale per chi è un neofita.Ho Piantato 3 semi e tutti hanno germinato!ESSENZIALE!
Commenti : perfetto tutto come me lo aspettavo ora espetto solo la crescita ma sono sicuro che sarà perfetto
Commenti : Comodo
Commenti : Prodotto buono, ma l'illuminazione con le pile dura massimo due giorni e il resto è praticamente solo terriccio. Ottimo invece il preparato per i semi
Commenti : Al inizio ero scettico sulla sua utilità, dopo solo 2/3 giorni ho visto che le mie bimbe avevano una radice esorbitale. I migliori 🦾🌳
Commenti : Fantastico!
Commenti : Assolutamente necessario se siete alle prime esperienze e non volete rischiare nulla nella fase più delicata del processo
Commenti : Sono rimasto molto soddisfatto il set è ottimo anche per assemblare sto aspettando che escono le piantine
Commenti : Fantastico!
Commenti : Metodo eccellente per la germinazione, al momento 9 semi su 9 hanno terminato. Tempi davvero brevi, 3-5 giorni. Per ogni ciclo conviene mettere batterie nuove.
Commenti : Good luck
Commenti : Perfect
Commenti : Ottimo prodotto per principianti abbastanza semplice ed intuitivo fa bene il suo lavoro, ma da principiante ad altri principianti non è un vaso definitivo è solo per la germinazione e primi giorni di veg quindi fatevi trovare già preparati quando spuntano le bimbe
Commenti : se cerchi un aiuto per la germinazione dei tuoi semi... eccolo!
Commenti : ciao a tutti, ho piantato 4 semi e con easy start sono germinati tutti e 4. Al momento sono in fase di fioritura e tutto procede piu o meno bene. Ottimo prodotto
Hey , é preciso meter água todos dias? Ou mete se só uma vez?
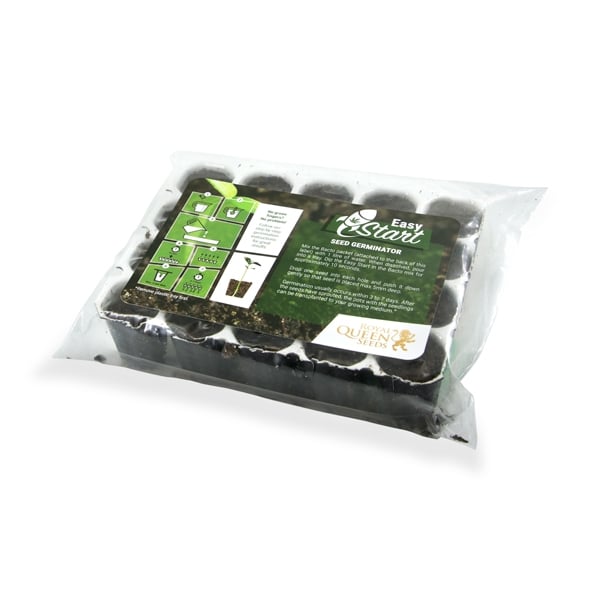
Thanks for your message. You need to place Easy Start pots into the water only once for 5–10 seconds. After that better not to open the lid, you may disrupt the humidity and heat levels that the seedlings need to grow well.
Ho comprato lo starter kit per autofiorenti, ma non riesco a capire dove si mettono le batterie incluse per far accendere le luci .
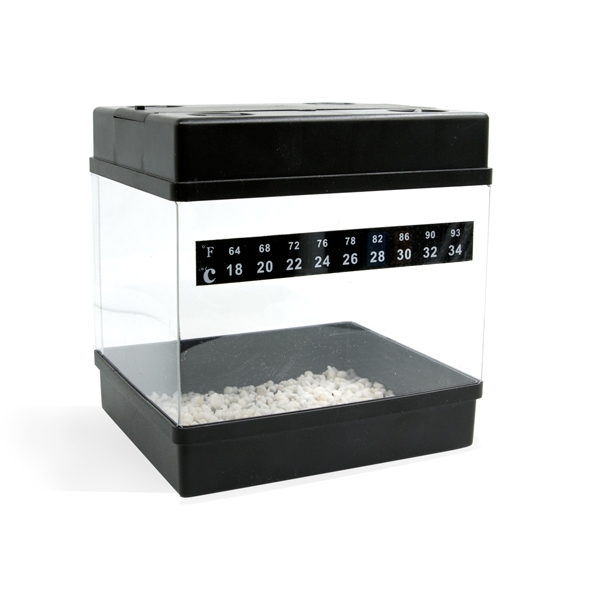
Please follow the instruction below to add the batteries to the new propagator: 1. The batteries are housed inside the black cover, under the LED lights. Detach the lid of the battery compartment by applying pressure to one side of the lid. 2. Take the batteries out of the plastic wrapper. Position them as indicated by the + and - signs inside the battery compartment. 3. Touch the tactile pad to check that the batteries have been inserted correctly. The LED lights should light up. Replace the lid to its original position—a “popping” sound will indicate that it’s secure.
Ich weiß nicht wie ich die Batterien einsetzen soll! Bekomme den Deckel nicht auf.
Thanks for your message. Please follow the instruction below to add the batteries to the new propagator: 1. The batteries are housed inside the black cover, under the LED lights. Detach the lid of the battery compartment by applying pressure to one side of the lid. 2. Take the batteries out of the plastic wrapper. Position them as indicated by the + and - signs inside the battery compartment. 3. Touch the tactile pad to check that the batteries have been inserted correctly. The LED lights should light up. Replace the lid to its original position—a “popping” sound will indicate that it’s secure. Please let us know if you need further assistance.
I would like to ask how long can Basco be used after it has been dissolved in water? Will it be a problem if I use it several times later mixed with water?
Please note that it should be used only once.
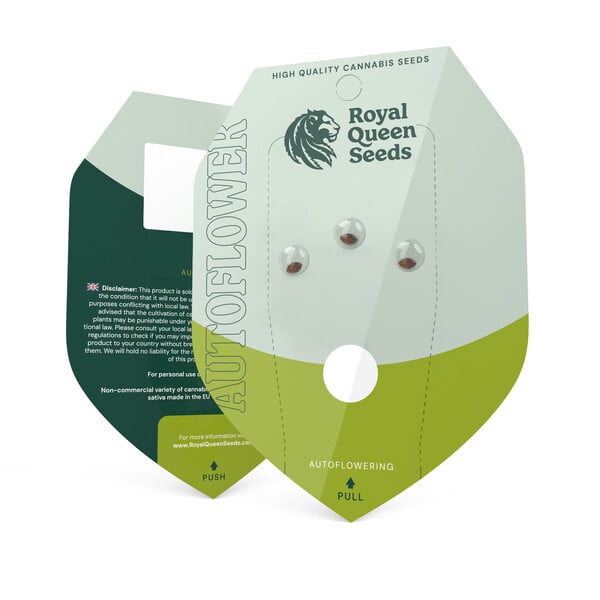
good evening! the difference between autoflowering and feminized beyond the seeds? have the same equipment (lamp and all the other provided by autoflowering) ??
The only difference is that the Autoflowering comes with Autoflowering Seeds while the Feminized comes with Feminized seeds.
Brauche ich immer , bei jeder neuen Ansetzung einen neuen Starterkit ?MfG Rudi
You can get a starter kit and then get a new Easy Start for the new harvest. You can check it out in this link: https://www.royalqueenseeds.com/growing/162-easy-start.html
Il y a t il assez de graine pour chaque pot easy start?
No, we add a three seeds pack of White Widow on the Starters Kit Autoflowering.
Au moment de passer la "plante" du Starter Kit a son pot définitif, peut on la transplanter avec le petit pot du kit ?
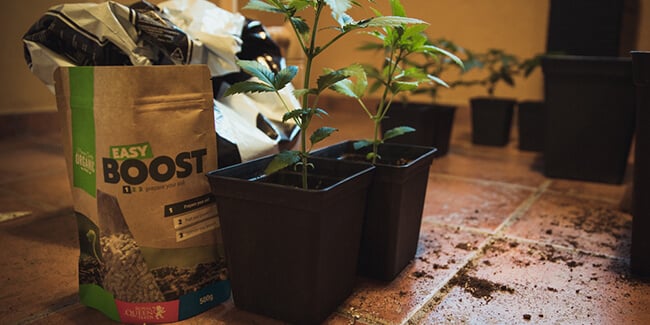
No, you need to take out or the plastic will limit the growth of the root and it could end up killing it.
After the plantvis 2-3cm can it be moved to gow outside or need some time to grow in a bigger pot, then moved outside ?
That would be enough to transplant it.
Salve ma la luce del kit quanto tempo la devo tenere accesa ??
You can keep the lights on until the seedling comes out of the soil 2 or 3 cms.
Hello, i not find howlang the light must on with the starter kit.
The light should be on all the time, since the seeds are put in the soil.
Hey, can you suggest some article about transplanting herb? Which is the safest way to not damage roots of plant and how transplanting should be done?
Please refer to the following article for more information: https://www.royalqueenseeds.com/blog-how-and-when-to-transplant-your-weed-n350
Hi ! I was just wondering if you guys had some tips about how to put the seed germinator into a pot full of soil once germination has started. Any advice about the pot size I should use for the White Widow Auto ? Thanks in advance
No need to remove the soil stocked around the young plants, in fact, avoid doing so as this risks damaging the delicate roots. Just pop the whole thing into whatever grow medium you’re using soil, hydro or clay pebbles. Please refer to the following article about pot size: https://www.royalqueenseeds.com/blog-types-of-containers-for-growing-weed-n445
When do the vents on incubator need to be opened? Also if seedlings hatch quicker,can you remove from incubator and re-seal? Many thanks
This holes should be closed during the germination, and open them once the plant starts to come out. Once they have grown two or three cms out of the ground it is time to transplant they all should be out after 72 hours so it is not necessary to take them out separately.
How many degrees need to be inside the kit?
Please note that with this product you do not need to keep a specific temperature, just make sure you keep it in a dark and fresh place. The starter kit keeps the humidity necessary for the germination process.
Bonjour, pourrais je savoir quel type de lampe sont fournies avec le kit ? Peut on s'en servir jusqu'à 2/3 semaine de croissance ?
Please note that the purpose of this kit is germination only. Once they have grown two or three cms out of the ground it is time to transplant them.
con questo kit posso far germogliare autofiorenti e femminilizzatti assieme nello stesso momento o è un problema?
The kit can be use with all the seeds.
Vorrei sapere le misure del kit, grazie!
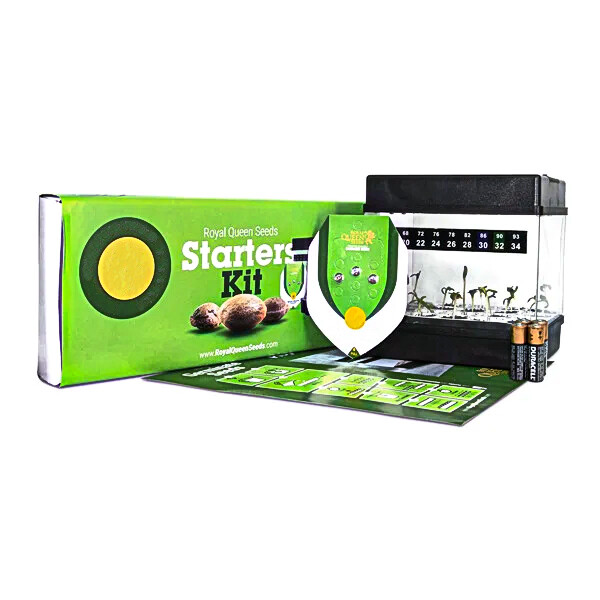
Once it is set up, the starter kit measures are 12 x 10 x 13 cm
Come devo tenere le manopole sopra al germinatore? Aperte, chiuse, a metà?
Please note that this holes should be closed during the germination, and open them once the plant starts to come out.
Le kit peut-il s utiliser plusieurs fois?
Absolutely, also bear in mind that we sell the Easy Start separately so there is no need to buy the whole kit every time.
Hallo Zusammen, ist bei der Bestellung dieses Starter Sets eine einigermaßen detailierte Anleitung zum Umgang mit den einzelnen Komponenten ? Vielen Dank im vorraus
There is a tutorial video in the product page with very detailed instructions on how to use the Kit.
Do I leave the light on the whole time and how long should I wait till I have to replant it
Yes, you can leave the light on during germination. It would lead the seedling to come out. Once they have grown two or three cms out of the ground it is time to transplant them.
Is it possible to buy the kit with 3 other kinds of seeds instead of white widow (AK automatic or Norther Light ?)
All the packs come already made it is not possible to change them.
posso utilizzare i cubi di lana di roccia (rockwool) al posto dei vasetti inclusi?
You do not need to add the rockwool, the Starter Kit components are enough to germinate.
If i buy 2 starter kit can i use it in like a year apart or is there a time limit
There should be no problem, make sure you store it in a dry and cold place.
Die angebrachten Luftlöcher. Wie lange und wann soll man sie öffnen/schließen ??
Please note that this holes should be closed during the germination, and open them once the plant starts to come out.
what sort of seeds are included? What kind of seeds are these?
There are three seeds of White Widow Automatic included in the pack.
soll des licht gleich angemacht werden und die ganze zeit brennnen??? am wann topfe ich diese um???
The light should be on all the time, since the seeds are put in the soil. Once you see the first leaves come out of the pot you should place the seeds in a bigger pot.
Is it possible just to but the kit and not the seeds? I have mane seeds I just need the growing kit.
All the seeds come already made it is not possible to modify them.
Sind die kostenlosen samen, die man ab einem bestimmten betrag bekommt auch weiblich?
We only work with feminized seeds.
Une fois la lumière allumé y-a-til des cycles (éteindre/allumé a respecter ?)
Please check out the below link to for a more accurate information regarding this matter. https://www.royalqueenseeds.com/blog-best-lighting-for-growing-cannabis-n103
per quanto tempo un seme autofiorente va tenuto dentro questo kit?
You need to keep the Seed inside of the pots until it germinates. If you are not going to use the seeds after receiving them, please take a look at the below link from our blog for seeds storage information: https://www.royalqueenseeds.com/content/36-how-to-preserve-seeds
Als de zaadjes ontkiemd zijn moeten deze dan verder groeien in dezelfde pot ? Zijn deze potten niet te klein voor verder te groeien? Het is mijn eerste keer , ik wil deze zonder iets kweken(geen lampen,voeding) na de ontkieming Lukt dit ?
Please use the pots only to germinate the Seeds, once they have sprouted it is essential that you move them to a bigger pot. If you are not feeding the plant and giving the right light it could happen that the plant does not deliver good results.
How many seeds are included? 1 or 3 seeds?
Both Starter kit contain three Seeds.
Hello, is it possible to put northernlights seeds in the kid?
The Kit would work with all the Seeds.
Peut-on utiliser le starter kit auto pour ensuite remettre la plante en extérieur ?
Oui, c'est en fait ce que nous recommandons.
Hallo, kann man das perlit und das bacto- Pulver öfter als einmal verwenden? Und wenn nicht, wo bekomme ich das her?
You should use one bacto bag each time, we only sell the backto in the kit.
Non sono molto esperto a riguardo della coltivazione di canapa; vorrei sapere se compro questo kit, poi dovrò cambiarlo perchè le piantine crescono, o stando in questo contenitore riescono lo stesso a raggiungere la maturazione (una certa altezza) per dare roba "buona". Spero che mi abbiate compreso.
The Starter kit is to be used for the germination only, once the plants start to grow you should move them to a bigger pot.
Le luci del box vanno tenute sempre accese oppure esiste un rapporto ore di luce/ore di buio?
You can keep the lights on during the germination. It will help the plant to find the way out :)

Dichiarazione di non responsabilità
I semi di cannabis possono essere distribuiti liberamente all'interno dell'UE in base al principio del reciproco riconoscimento. Tuttavia, è tua responsabilità informarti e rispettare le leggi e i regolamenti locali prima di ordinare.
Nutrienti e Stimolanti
Come germinare?